Happy new gardening year! January is a special time for us gardeners. While it may be too cold and miserable outdoors, or the soil too frozen, to get on with much, it’s time to get excited about what the next 12 months will bring; deciding and planning what to grow; what to sow and when; and planning any new major projects or even revamps. But there are things that you really need to get on with, plus anything you can get around to now does mean there’ll be less pressure on the manic spring season when there seems like there’s never enough hours in the day to get everything completed.
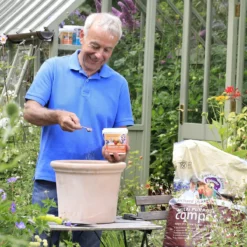
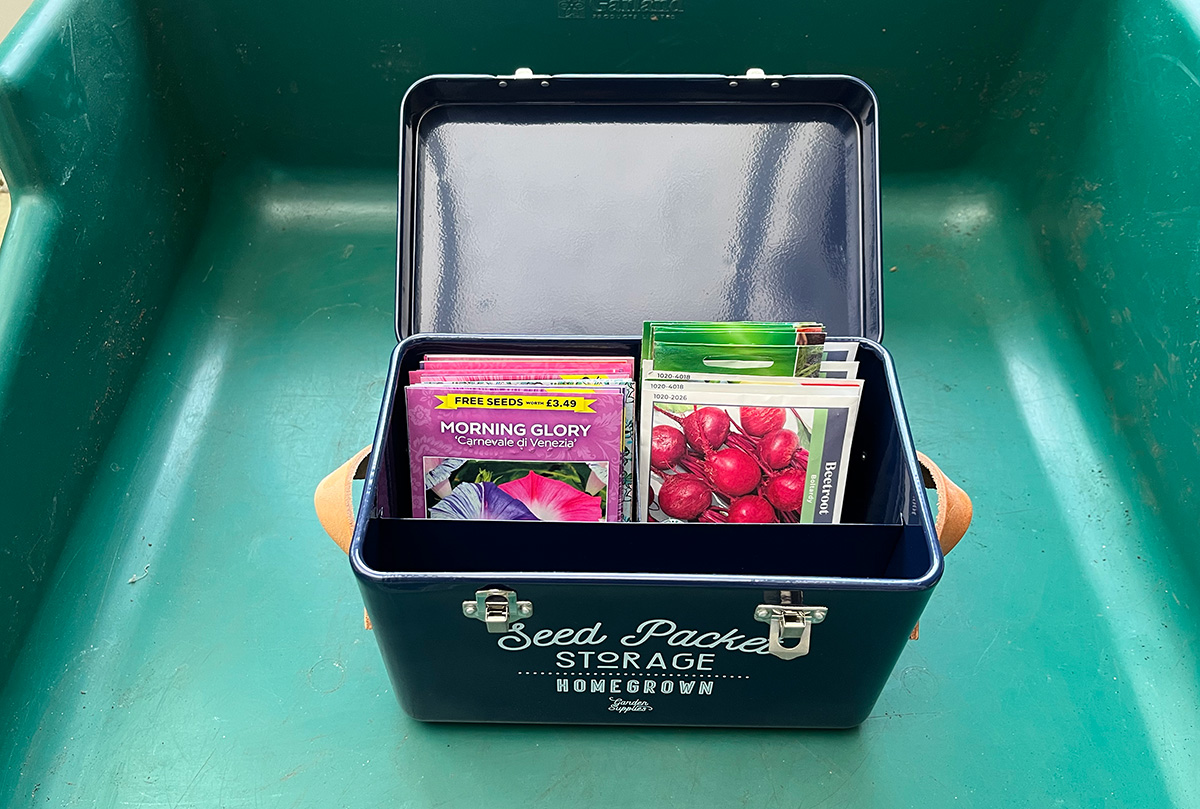
And, of course, there’s plenty to get on with indoors if you aren’t able to go outside. Ordering seeds and plug plants; arranging your seeds into sowing months so you don’t forget something; and cleaning the leaves and generally pampering your houseplants.
Plant of the month
Helleborus niger
This herbaceous perennial, whose common name is Christmas rose, is a stalwart of the winter garden. Its pure white petals with a central boss of golden stamens stand proudly through the harshest weather and provide a shining beacon of flowers that brighten up beds, borders and containers and provide a vital source of fuel for any early beneficial insects. It looks marvellous planted in swathes in partly shaded positions, in woodland glades and underplanting deciduous shrubs; planted near the base of dogwoods is a classic combo.
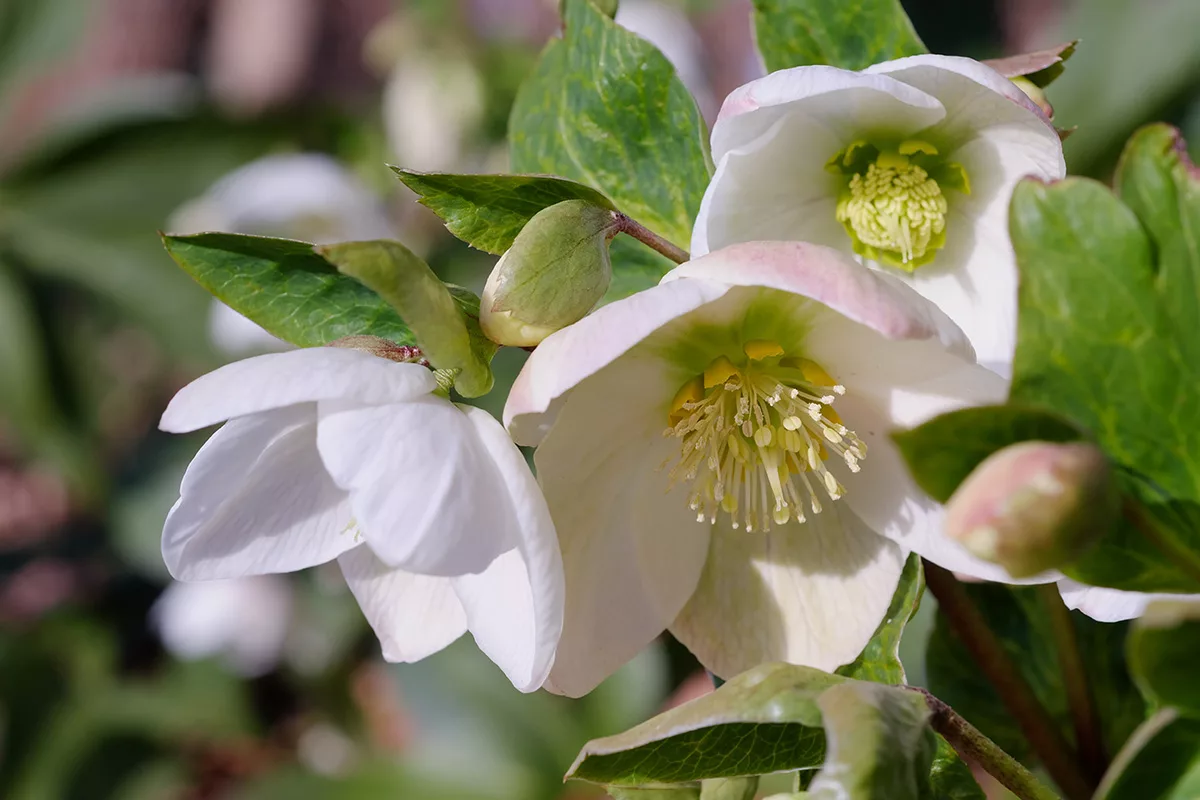
But its names are a bit of an enigma. Why niger, which means black, rather than alba that means white? The answer – its roots are black! And why is it called Christmas rose when it rarely if ever flowers at Christmas, unless given some cloche protection for a couple of weeks on the lead-up to the festivities! If you get flowers on the big day, naturally without forcing, I’d love to hear from you and prove me wrong. Email me at [email protected]
Where to grow
Given the right conditions, this plant is very undemanding and is a reliable flowerer. Plant in well-drained, but moist soil that is rich in organic matter, such as compost, in partial or light shade.
How to care for it
Mulch around the plant annually. The leaves can become tatty and blackened with leaf spot disease or the horrendously named hellebore black death. Remove any old or damaged leaves at any time, but especially on the lead up to flowering to ensure they don’t detract from the flowers and to reduce the likelihood of disease.
Be creative – Colour me fab
Walls and fences needn’t simply be plain, boring items that mark the boundaries to your property. They can be a thing of beauty – features in their own right and something that adds to your garden’s overall delight. But standard “brown” fence panels and typical bricks won’t necessarily do that. Yes, you can cover them up with climbers – but that means they simply become plant supports.

Make your boundaries something to be proud of, that set off your garden, plants and other features by giving them a lick of paint. There are lots of brick, render and wood paints available in a rainbow of colours. You could choose one that complements your garden’s overall colour scheme, one in a totally contrasting colour that shouts “wow, look at me” or one that fits into the latest gardening trends. For instance, black and different greys are right on trend, and black particularly makes a fabulous backdrop for many different colours, especially pale colours and whites.
This month’s myth busting – Chitting seed potatoes before planting is always a good idea
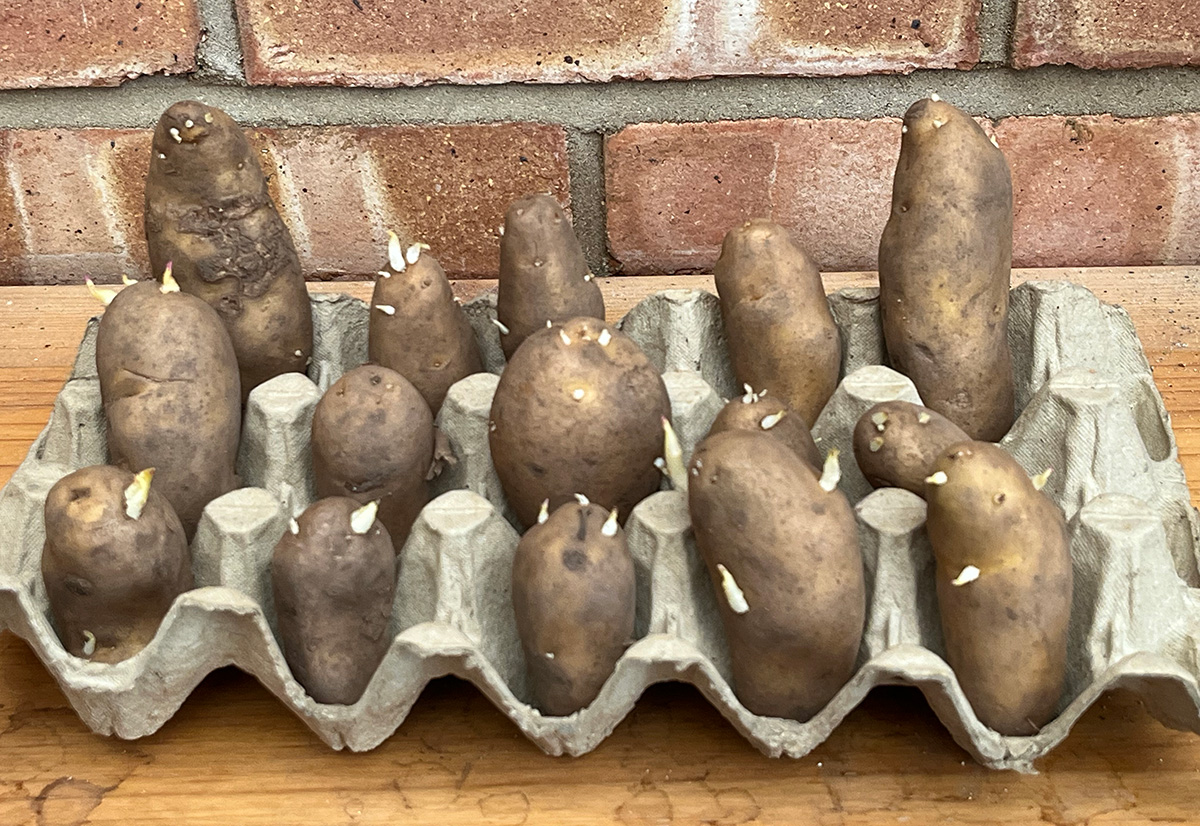
Chitting is one of those wonderful “mystical” words we use in gardening. All it means is starting the seed potatoes into growth at this time of year, prior to planting them outside in spring. All you need is a cool, but frost-free place with good overall light levels. The aim being to produce strong, robust shoots. But is it always a good idea?
The simple answer is mostly yes, as long as you have somewhere suitable with the correct conditions. And yes for early varieties, but it has limited merit for maincrop ones; maincrops have a longer growing period, so this head start is less significant. Potatoes will grow and produce a crop without chitting, but the process encourages stronger, healthier growth and can lead to an earlier and potentially larger harvest.
Chitting can bring forward the harvest time by two to three weeks, which is particularly valuable for early varieties, allowing you to enjoy new potatoes sooner in the season.
By pre-sprouting indoors, the seed potatoes develop sturdy, dark green or purple shoots (called chits, hence the name); these robust shoots establish quickly when planted. But if chitted in conditions that are too warm and/or too dark, these chits become long, weak and elongated and will lead to a reduction, or even a complete loss, of crop.
Some trials have shown that chitted potatoes can produce a higher overall yield or a greater number of larger tubers, depending on how many shoots you leave on the seed potato. And this is another advantage of chitting that many don’t realise. Leaving just two to three chits will encourage larger individual potatoes, whereas four or more gives a bigger yield of smaller spuds; rub off the excess weak sprouts for large bakers or leave most of them for mini, salad spuds.
Timely tasks
Although it’s a fairly quiet time jobwise, here are two you really should get on with this month.
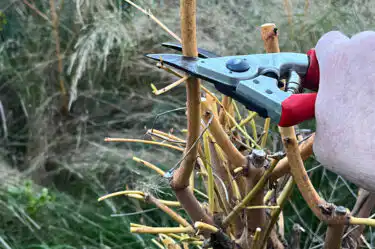
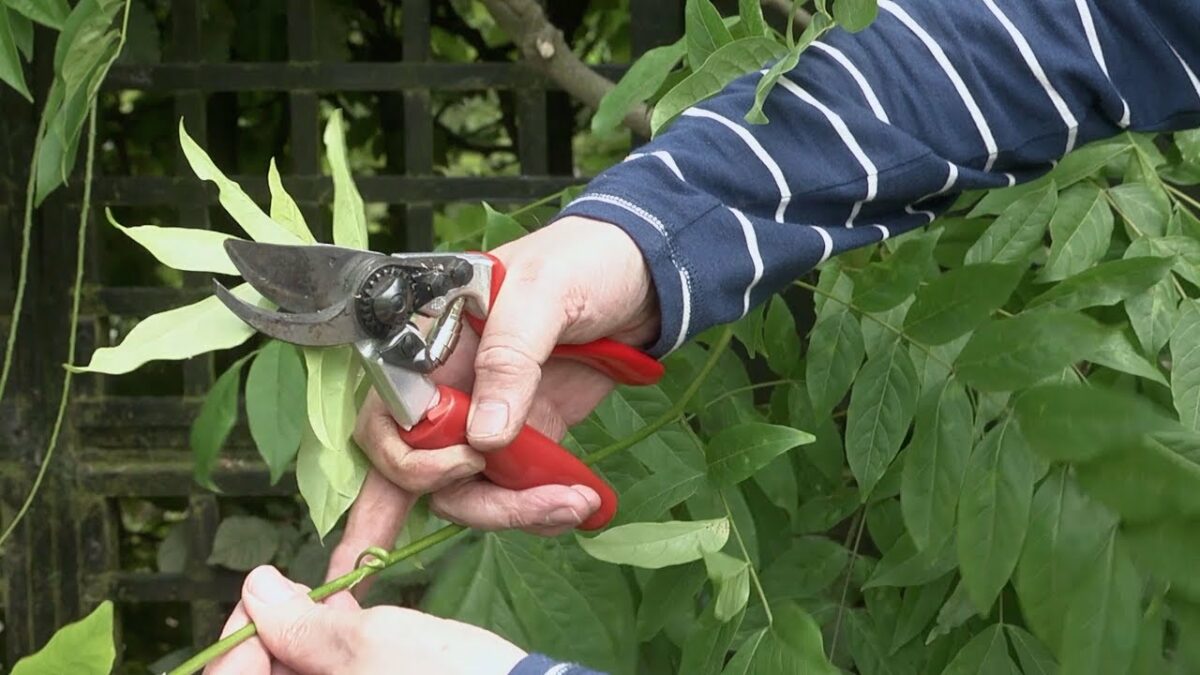
Pruning wisteria
If you didn’t do it in December, make sure you put this job firmly into your January diary. It’s the time to cut wisteria back to build up those flowering spurs that will ensure a glorious display come spring.
I’ve made an easy-to-follow video on wisteria pruning, so watch that now.
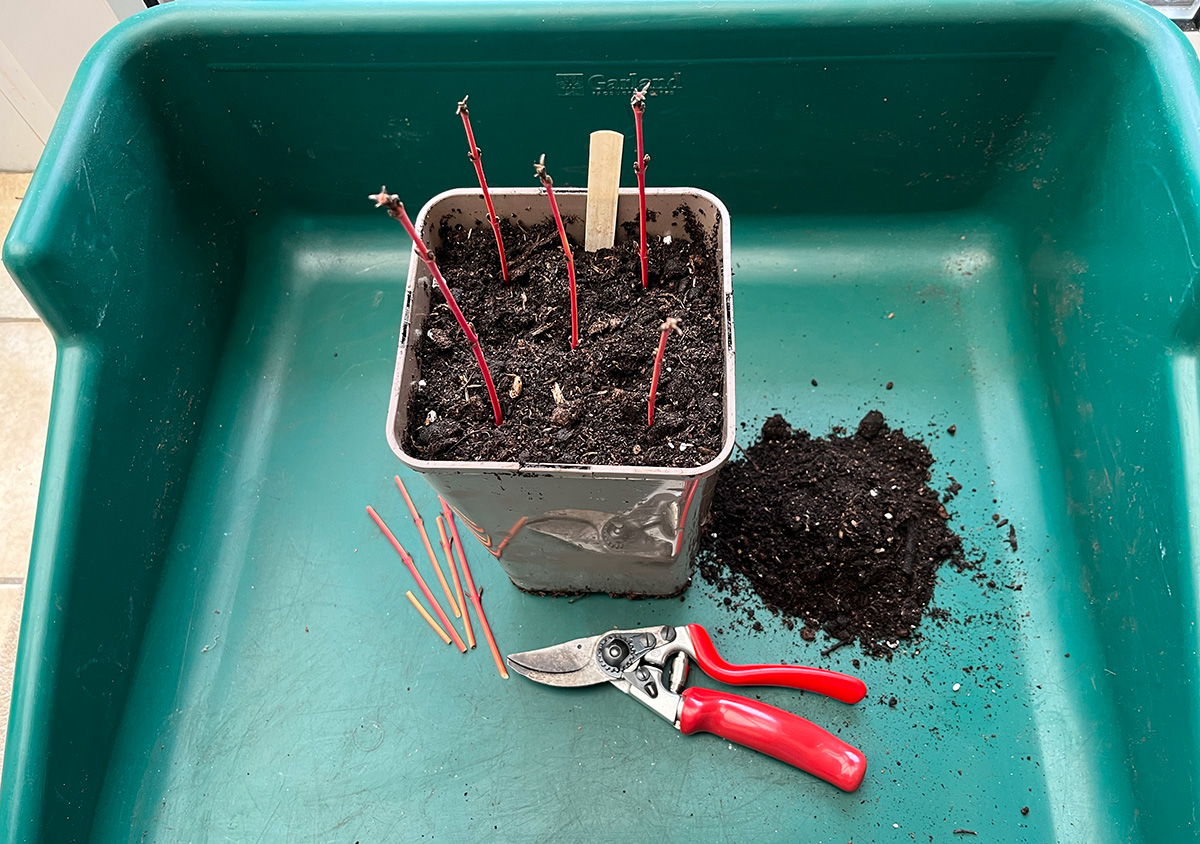
Hardwood cuttings
Hardwood cuttings are the easiest way to propagate a wide range of deciduous shrubs, as well as roses and soft fruit.
- Remove strong, healthy shoots from last year’s growth about 23-30cm long.
- Trim the base just below a bud and trim the top just above a bud, removing the soft growing tip.
- Treat the bottom cut with hormone rooting powder or liquid.
- Insert the cuttings to two-thirds their length in a V-shaped trench, lined with 2.5cm of sharp sand or grit. Make the trench by inserting a spade into the ground and then pushing it forward. Space cuttings 15cm apart.
- Replace the soil, firming it around the cuttings and water in.
- Or you can insert them into long pots of John Innes Compost, spacing them 9-10cm apart.
- Water whenever needed throughout spring and summer.
- The cuttings will have rooted and be ready to plant out next autumn.