Gardening doesn’t need to be a costly exercise. There are lots of ways to save money.
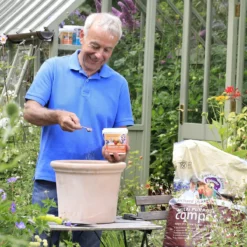
Growing from seed is an economical way to grow lots of edible and ornamental plants, but sometimes it can seem daunting. Follow these easy steps for the best results when sowing from seed.
Don’t sow seeds too early
Although it is tempting to sow seeds early, there is little benefit, in fact you are making more work for yourself. The shorter daylight hours create weak, leggy seedlings straining for light. Any seedlings that make it will have to be carefully nurtured until temperatures rise as the soil outside is just too cold for planting out. Read the seed packets and follow the sowing guides for the best results.
March is a good time to start sowing indoors and April is ideal for direct sowings. The longer, warmer spring days will produce stronger seedlings. There are always exceptions to the rule; tomatoes, chillies, aubergine and pepper need to be sown earlier (indoors) than other seeds as these need a longer growing time for fruit to ripen before the end of summer.
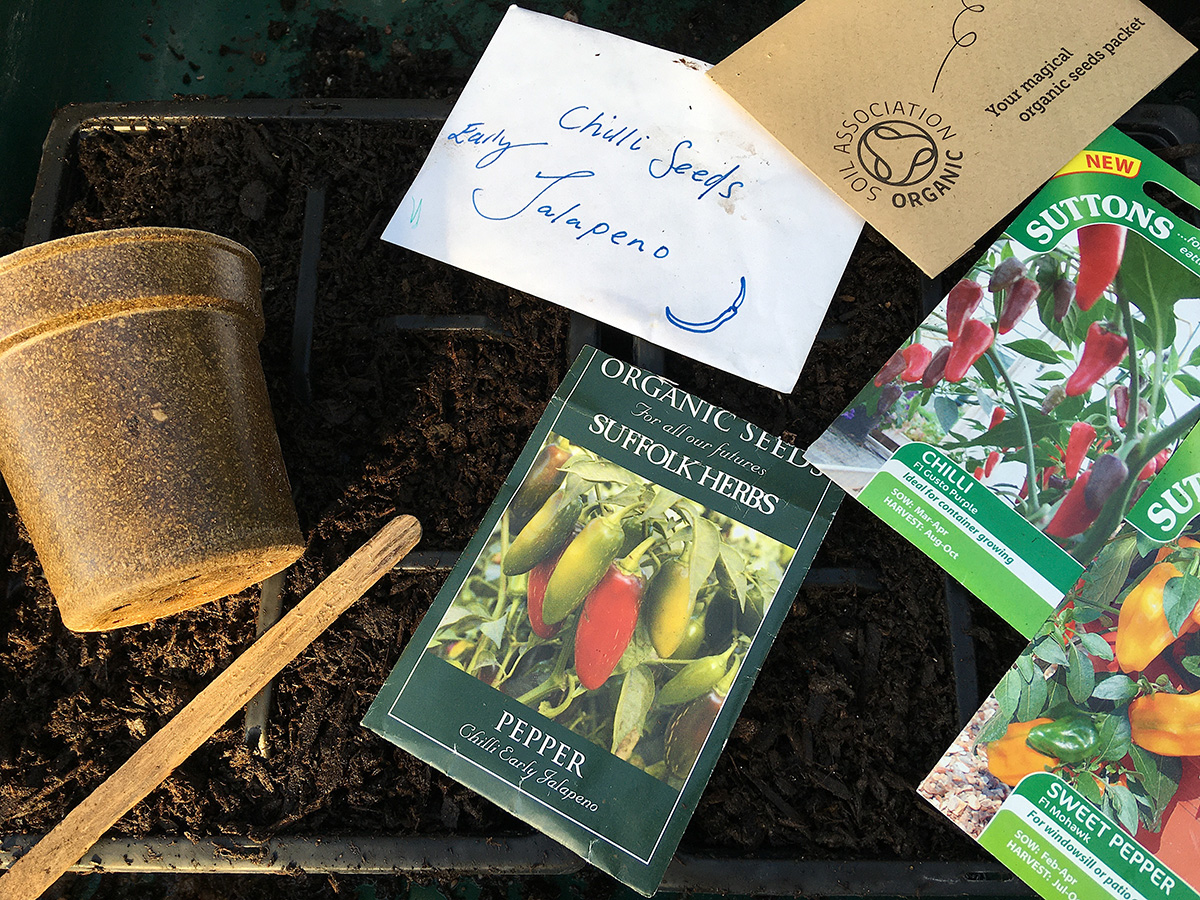
Use fresh seed
Some seeds like beans and lettuce are viable for years if stored correctly in a cool, dark, dry place, and other seeds, like parsnips, have a very short shelf life. If you save your own seed, store in a paper envelope with a packet of silica gel to absorb moisture and stop seeds rotting. Check the best before date on packets before sowing.
Clean seed trays
Good garden hygiene is essential when sowing seeds. Seeds and shoots are susceptible to fungal and bacterial diseases so it’s a good idea to give all your equipment a good wash in warm soapy water to get rid of any lurking pests or diseases, rinse and then dry naturally in the sun.
Use seed sowing compost
Seeds contain everything they need to produce a shoot, they do not need nutrients in the soil at this stage, instead use a fresh seed-sowing compost which is sterile, low in nutrients with a fine consistency and allows good drainage. Regular compost has higher levels of nutrients that can burn new roots and may actually kill some seedlings.
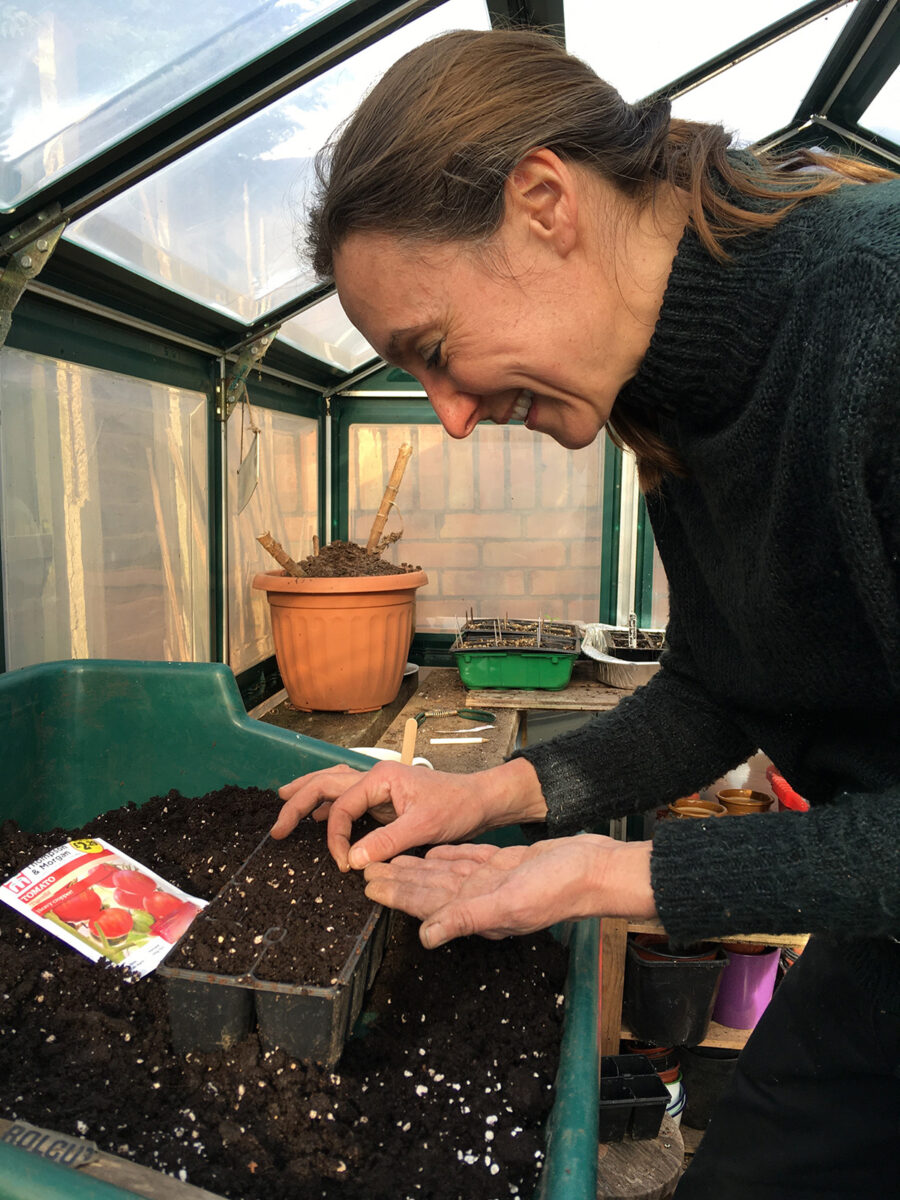
Fill a tray or small pots or modules, with seed compost and tap it down to settle soil. Firm and level compost with a tamper. Water the compost before sowing, to stop the seeds washing away. Sow small seeds on the soil surface and depending on the type of seed, either leave them exposed or cover with sieved seed compost or Vermiculite. Larger seeds need holes dibbing in the compost.
Space your seeds
Adequately space seeds to give them room to grow, this will reduce the risk of fungal diseases like damping off and give each seedling an equal chance to obtain water and nutrients, reducing competition for resources. A tray with individual modules will cut down root disturbance and reduce the need for pricking out.

Sow at the right depth
Check the seed packet for sowing instructions. Light is essential for some seeds to germinate and others require covering with a thin layer of sieved compost. Generally, sow a seed at a depth of two to three times the width of the seed so there is enough energy for the shoot to reach the surface before running out of food.
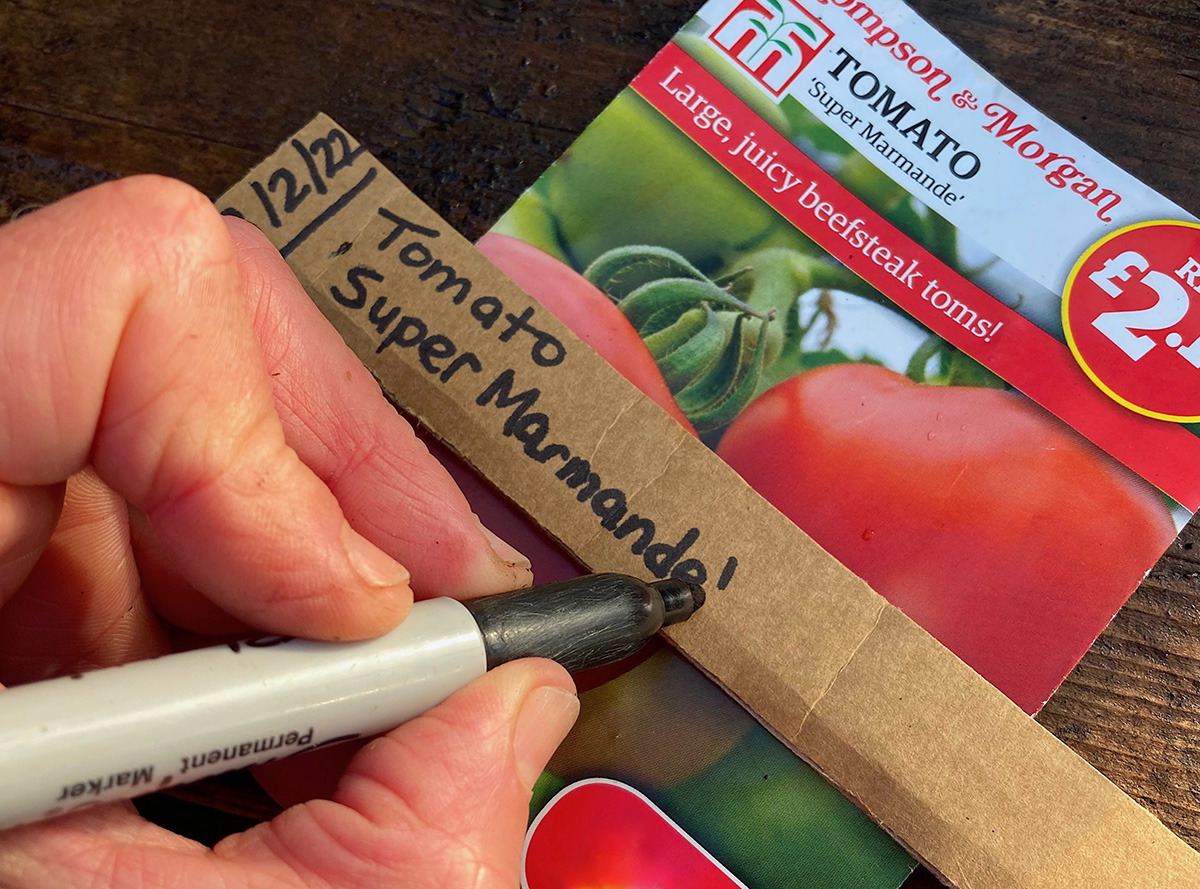
Label seeds
We know what we planted right? It seems so simple but after sowing a few packets of seeds we can lose track of what plant is sown where and when we sowed them. Dispel the confusion and label seed trays. Note the plant name, variety and date sown. That way you can keep an eye on things.
Buy plant labels or make your own from lollypop sticks, cardboard, twigs, pebbles, wine corks or cut up yoghurt pots; use a permanent marker to write. If you have traditional white plastic labels to hand then rub with wire wool to remove old pen and reuse.
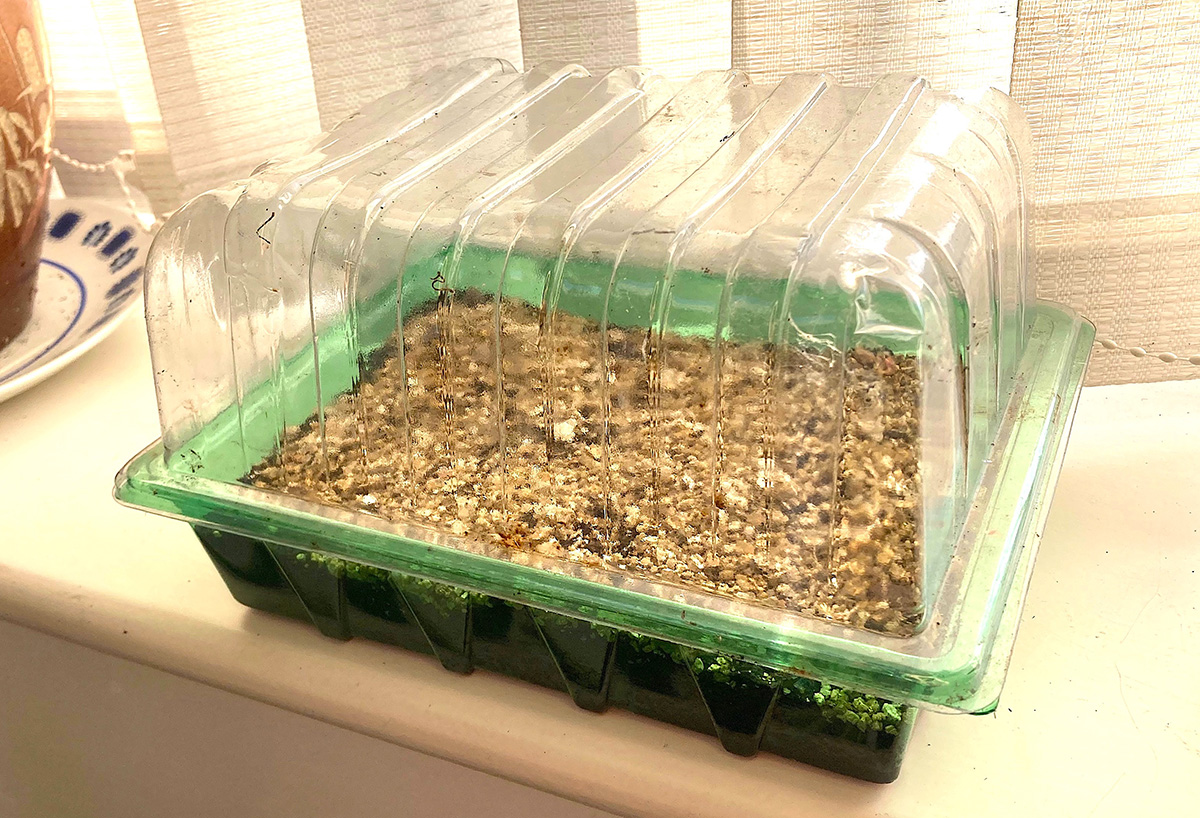
Let there be light!
Once seedlings emerge light is essential for healthy strong growth. Ideally seedlings require 14-16 hours of light a day, making it difficult to achieve in winter without artificial grow lights. Turn the seed trays so that the seedlings grow evenly.
Keep them warm
Seeds need heat to germinate. A warm windowsill will do but if you are growing in a greenhouse bottom heat is the perfect solution to give seeds a boost. Heating mats are available online or invest in an electrically heated propagator.
Get watering right
Keep seeds moist but not floating in a swampy moat. Stored rainwater may carry fungal diseases so use tap water; watering from the base to avoid damaging shoots and rotting stems. Keep water off foliage.
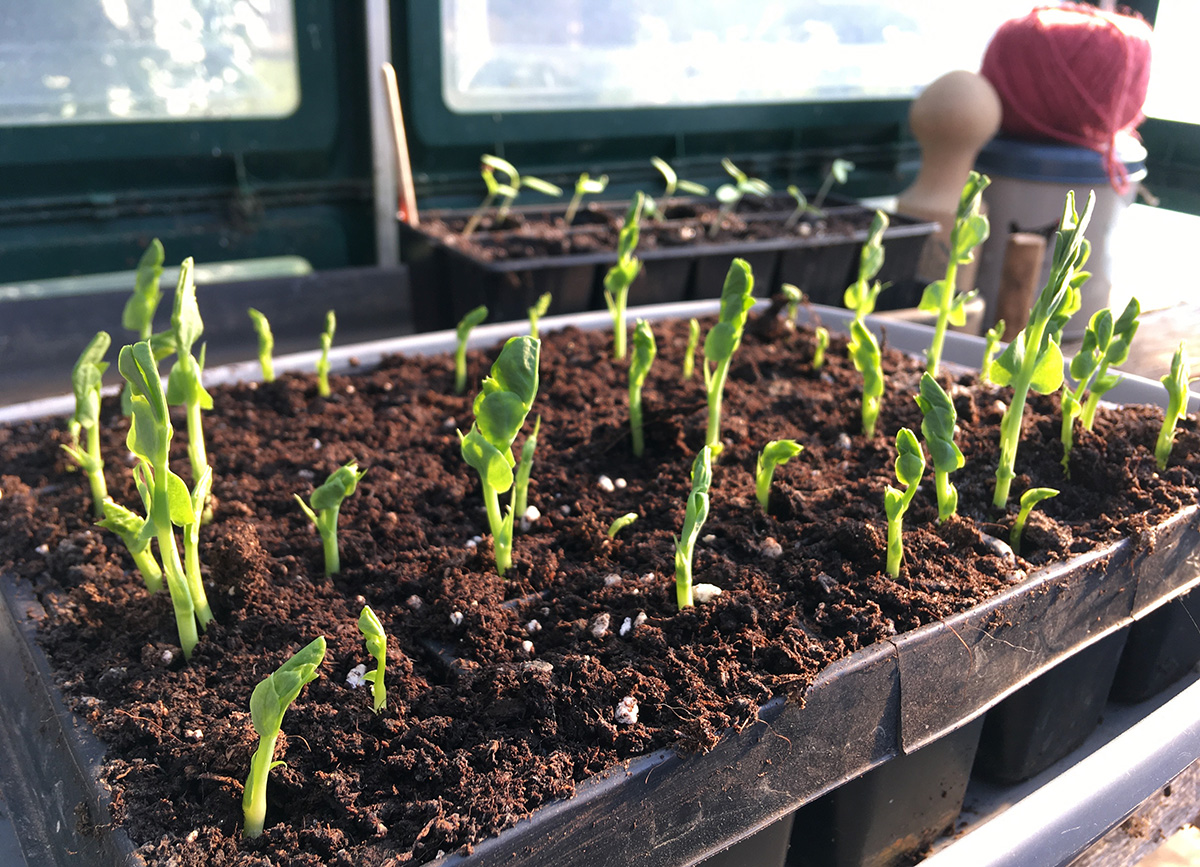
Pricking out
Seedlings need space to grow. Once seeds produce two true leaves (the foliage that grows after the first seed leaves), carefully tease out the root ball with a pencil or a fork and transplant into a small pot of fresh peat-free compost or an individual cell of a larger tray. Always hold the plant by its leaves not the stem, plants can generate more leaves but if the stem is crushed it is game-over.
Overcrowding is often the cause of seedling failure; competition for space and lack of room for roots to develop can contribute to a fungal infection known as damping off so thin out and keep air circulating.


Don’t plant outside too early
Be patient. The growth of a plant from a tiny seed always seems like a miracle but this life is fragile and the slightest blip in the early stages can bring this wondrous process to an abrupt halt. Wait until temperatures have risen and the risk of frost has passed before planting out tender seedlings.
Successional sowing
Gardener’s always worry about gluts of crops; after months of nurturing, plants crops can mature all at once; no one wants to throw food away after putting so much effort into growing it so stagger your sowings. Make new sowings every couple of weeks; once one harvest matures the next crop is not far behind, keeping you with a consistent supply of food.